I'm still happy I tried out 3-D printing by making a headphone wrap, but the device itself leaves a little to be desired. A perfect headphone wrap would be:

- Small shirt pocket size at the biggest
- Easy to wrap or I'll never use it
- Easy to unwrap or I'll curse at it
- Secure it needs to hold the headphones while preventing tangles
My 3-D printed model scores a 3/4. Unwrapping is a pain, so I started looking for alternatives. Instructables user amalkhan has this model, which I like a lot. I also saw a few others that were more like a headphone wallet.
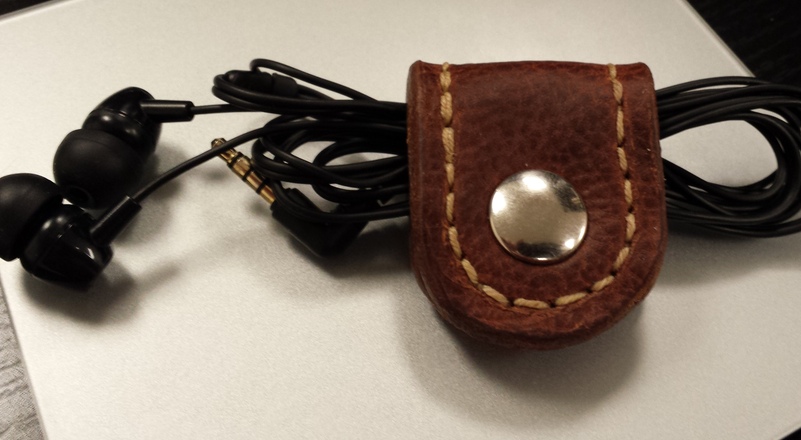
So I'm going to make one out of some scrap leather I have that matches my satchel. It comes down to 6 steps:
1. Make the Pattern
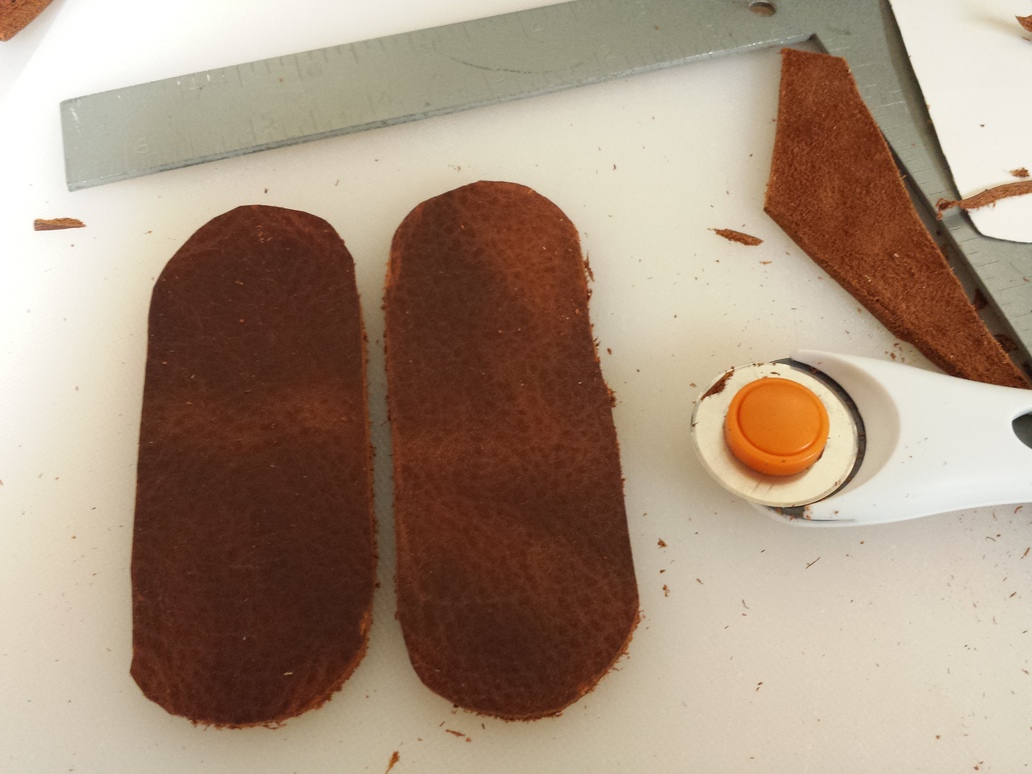
I picked a size that seemed reasonable and cut it out of cardboard to make sure it seemed right. I traced the cardboard on the leather. I want it to be 2 layers like the bag.
2. Cut the Leather

This is where I realized that two layers really complicates things:
- The inner layer has to be shorter
- The stitches have to be radial; not all parallel through the leather
- Once you glue it up, it will never really lay flat for you again.
Still, I want the extra weight of 2 layers.
3. Glue and Trim
Put glue on one end of the leather and keep it secure. It's best to wait until it's all set before you continue. I did not do that. Once it's secure, clamp it around a dowel or something and glue it the rest of the way.
After it's all glued up, trim off any over-hanging leather corners to even up the edges.
4. Stitch

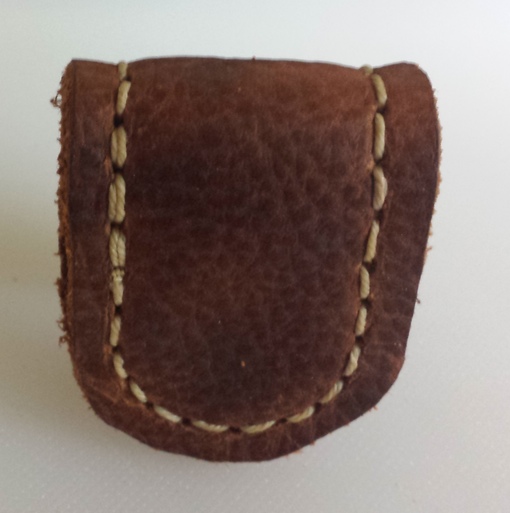
Another reason I wanted two layers of leather is that I could put cool stitching around the outside of the thing. This is the part that takes the longest; it took me 42 stitches around the whole thing.
5. Add The Snap
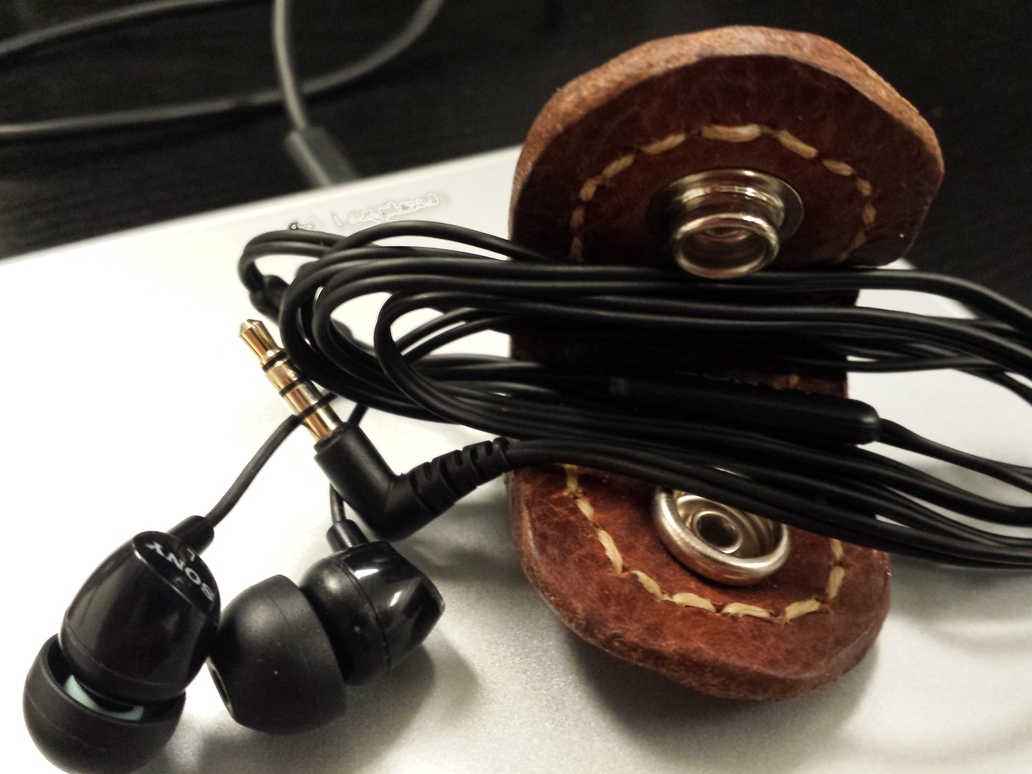
To hold it together, I punched in a line 24 snap.
6. Finish the Edges
I started the edges by sanding with 400-grit sandpaper, then I put some glycerin saddle soap on a rag and rubbed it into the edges. It came out looking like this:

That's about it. So far it has stayed in my pocket one day without tangling.
