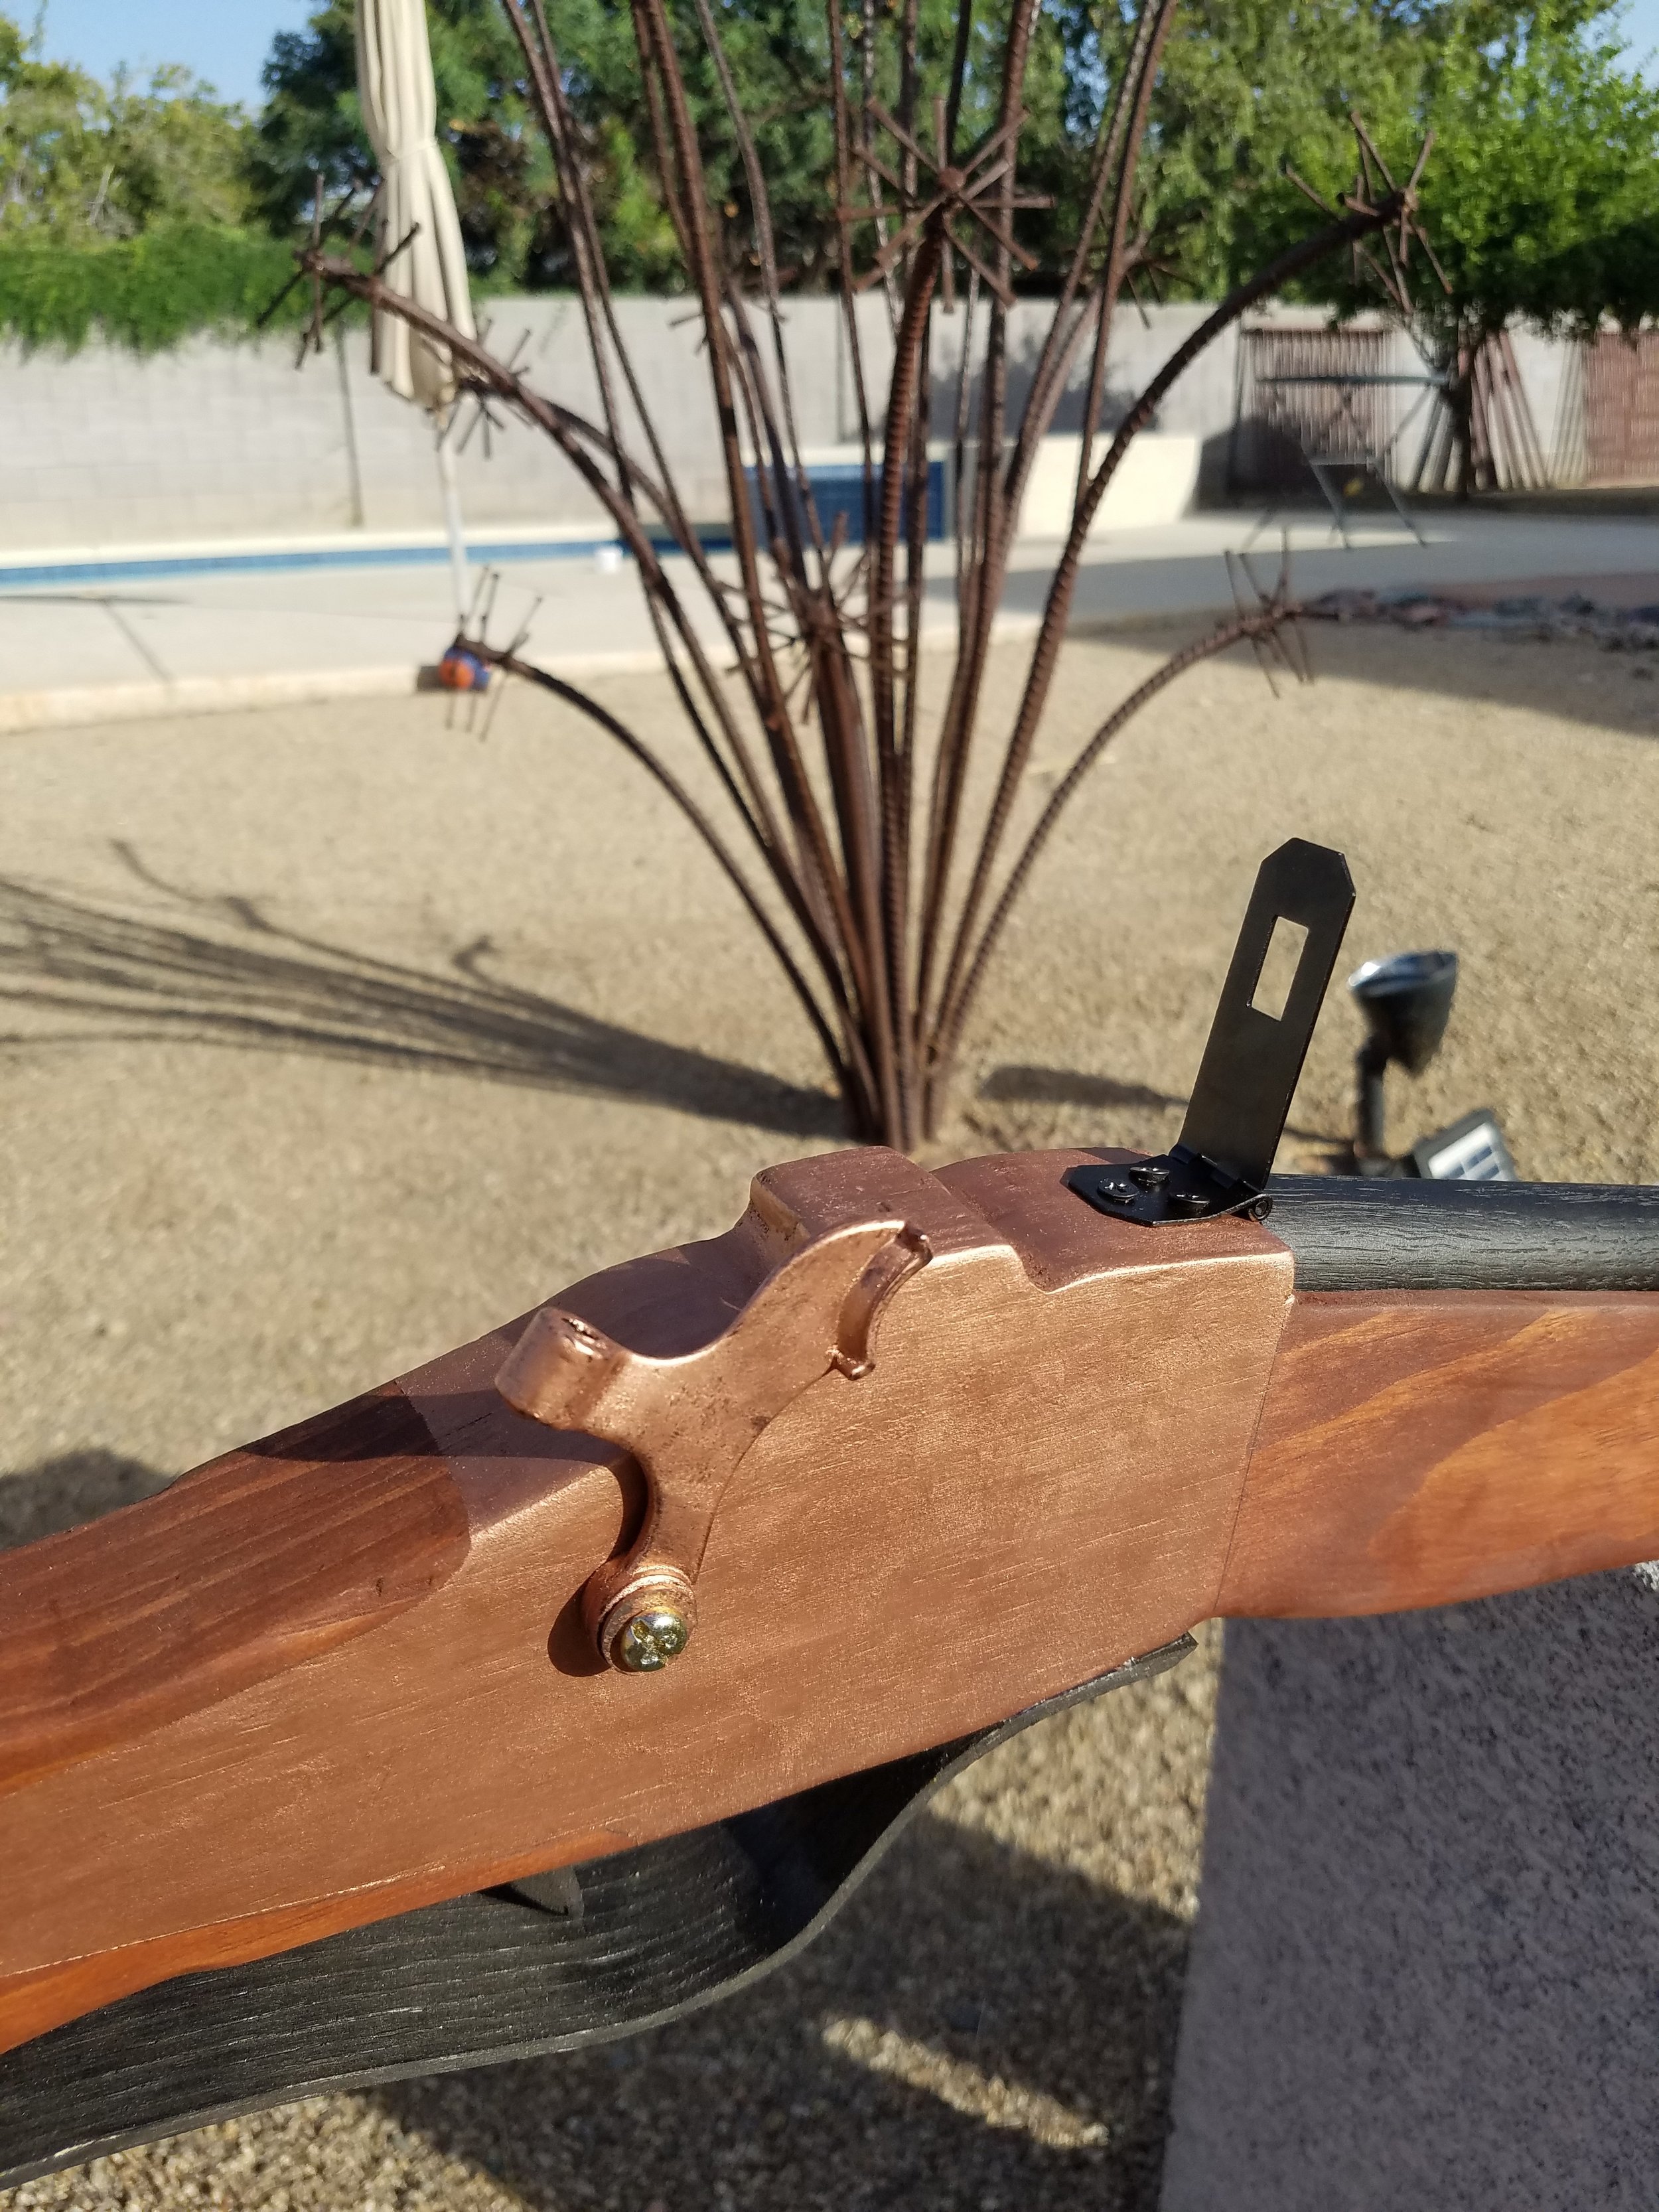
This year in Danger's Social Studies class, there's a family assignment: make a replica rifle to carry at a reenactment of The Battle of Gettysburg.
The Assignment
The rules for the assignment are:
- It has to be based on an actual rifle that could have been at the battle
- It has to be the proper dimensions and design for the rifle
- Submit a drawing of your weapon for approval before you build it
- It must by made of wood (very small metal parts are allowed for decoration)
He chose the Sharps Carbine as his weapon. It's a good choice since he's portraying a captain in a cavalry regiment, and that was the most popular weapon for cavalry soldiers in 1863.
The Specs
We knew the weapon was 47 inches long, so we grabbed a bunch of images of it and figured out what the rest of the dimensions needed to be. First, Danger sketched it on notebook-size paper for approval.
Then he transferred the image to a full-size drawing on butcher paper. He stuck the butcher paper to some cardboard and cut it out, then transferred the outline to our board.
The Materials
To make it, we found parts at the orange store & Amazon:
- 1 ea. 1x6 select pine board, 4 ft long
- 1 ea. 1x¼" oak board, 2 ft long
- 36" of 1" oak dowel
- 1 ea. hinge pin door stop (because it looks like a hammer)
- 1 ea. small black hasp latch (because it looks like a rear sight)
- 1 ea. ½" straight cut router bit with bearing (at least ¾" cutting height)
- 1 ea. 1" cove router bit
- ½ oz. Rub & Buff wax finish in antique gold
- 2 ea. brass wood screws, small
- 10" or so of scrap leather, 1" wide.
- Wood stain in any color you like (we used English Chestnut)
- Spray primer
- Spray paint (we used Oil-rubbed Bronze)
The Stock
The stock will be made out of pine boards. The thickest part of the stock will be 1½", so we traced the template twice on a ¾" thick board and cut out two identical shapes with a jigsaw.
We cut a ½" radius quarter round into each half to hold the barrel using the cove bit. Then we glued them together and used the straight cut bit to take a little extra material off of each side where the jigsaw cut wasn't exactly the same. I used a chisel to square up the round end of the channel so that the flat end of the dowel could fit.
We rounded over the outside of the rifle all around the stock, but not the lock. So the wood-colored parts will have round edges and the metal-colored part will have square edges.
Finally, we stained it with some English Chestnut stain so it looked more gun-colored.
The Lock
The "metal" parts of the gun are Rub n Buff wax finish put right on top of the stain. Danger masked very carefully around where the wax should go and then applied a few coats.
While he had the wax out, he also put some on the leather strap and the part of the door stop that looks like a hammer.
The Barrel
This was the easiest part: we just cut it to length and applied spray primer and spray paint. When it was dry, we glued it into place.
The Trigger Guard
This was the hardest part. We build a jig out of 2x2" poplar, then used steam to soften the wood and clamp it into the jig for bending.
This technique pretty much turned the ¼" oak into splinters. So we tried again. I used a belt sander to thin the oak down from ¼" to about ⅛". That actually worked quite nicely.
I made a trigger out of... something I found laying around. I can't remember. I just carved it then drilled a hole in the lock to hold it. The trigger and guard got painted black like the barrel.
The Finishing Touches
Danger added a couple of subtle brass screws to hold the "metal" in place. The hasp hinge made a flip-up rear sight and the loop that goes with it made a front sight. I hot glued the leather strap around the stock & barrel so it looks like it's holding the barrel on. Finally, the door stop made a hammer that you can move back and forth.


